Building Your First Prototype: A Step-by-step Guide for Entrepreneurs
Turn your entrepreneurial dreams into reality with our step-by-step guide to creating a game-changing prototype.

Turn your entrepreneurial dreams into reality with our step-by-step guide to creating a game-changing prototype.
What is a Prototype?
A prototype is an initial model of your product that gives you a clear picture of how it will function and look. It helps identify potential issues, encourages feedback, and assists in attracting potential investors.

Why is Building a Prototype Essential?
Building a prototype is an integral part of product development for several reasons:
- Idea Validation: A prototype helps to validate whether your idea works in real life.
- Design Improvement: It enables you to understand and rectify design and functional flaws.
- Cost Estimation: It aids in determining production costs, giving you a realistic idea about pricing your product.
- Fundraising: A prototype can be a powerful tool to attract potential investors as it presents a tangible representation of your concept.
Step-by-step Guide to Building Your First Prototype
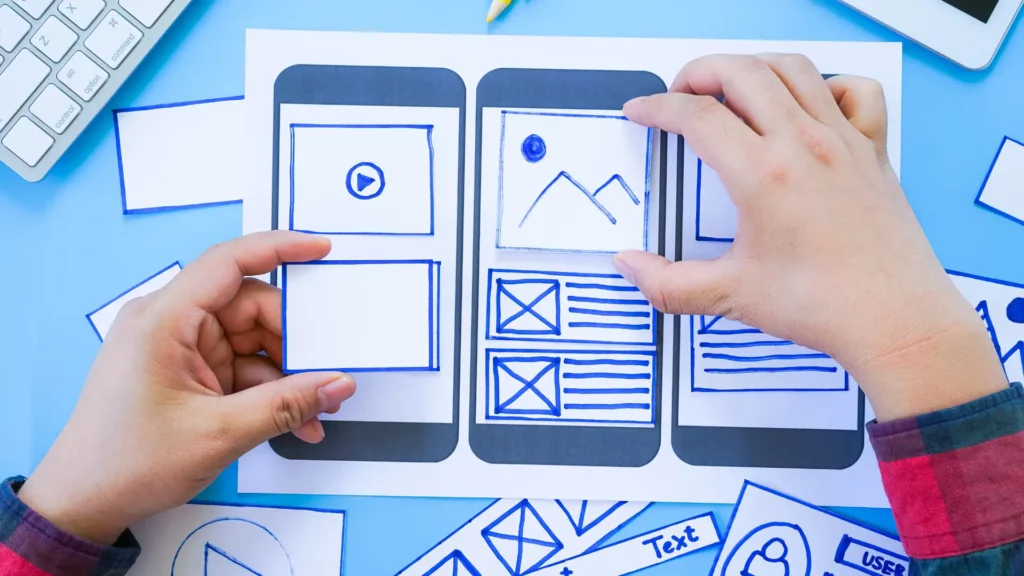
Step 1: Concept Sketch
Begin with a concept sketch. This basic drawing of your idea can be imperfect; it should simply represent your product’s primary features and functionality.
Step 2: Detailed Design
Once you have a concept sketch, proceed to create a detailed design. You can use design software for precision and accurate measurements. The design should encompass all the details required for physical creation, including dimensions, materials, and functionality.
Step 3: Build a Non-working Prototype
A non-working prototype, or a “looks-like” prototype, mirrors the product’s appearance but not functionality. It’s helpful to visualise your product and make design improvements.
Step 4: Build a Working Prototype
After refining the product’s appearance, build a “works-like” prototype. This model should replicate the product’s functionality. It helps you understand how well the product performs and allows you to make necessary improvements.
Step 5: User Testing and Feedback
Once you have a working prototype, start user testing. Gather feedback on usability, performance, and overall user experience. Use this feedback to make improvements.
Step 6: Iterate and Refine
Based on the feedback, iterate and refine your prototype. This step is crucial, as it often involves a series of modifications to perfect the product.
Step 7: Final Prototype
After several rounds of testing and refining, you’ll reach your final prototype. This version should be as close as possible to the final product.
Common Mistakes to Avoid While Building a Prototype
Not Defining the Purpose
Understand why you are building a prototype. Is it to test the design, functionality, or market response? Each purpose requires a different approach.
Overcomplicating the Design
Keep the design as simple as possible initially. An overcomplicated method can be costly and difficult to revise.
Ignoring Feedback
Feedback from testing is vital to improving your product. Ignoring it can lead to an unsuccessful final product.
Assuming the First Prototype Will Be Perfect
Prototyping is a process that often requires multiple iterations. Don’t be disheartened if your prototype isn’t perfect.
Learn from your mistakes
Remember, the journey from idea to prototype is exciting but also challenging. Embrace each step, learn from your mistakes, and refine your product until you have a prototype you’re proud of and confident in. The process may be extended and demanding, but seeing your idea come to life makes it all worthwhile.


Let’s get started!
Great digital products aren’t just built, they’re co-created. Together, let’s breathe life into your idea, crafting solutions that stand out.
Contact